Published Feb 21, 2023
Create your own tileset server for Mapbox with AWS
What? Why?
GeoJSON and vector tiles are the two main types of data that a Mapbox map accepts for encoding geographical structures. Although GeoJSON is easy to work with, large feature collections with complex geometries and custom properties can quickly increase file size. Vector tiles solve this performance issue. They are a way of breaking up large feature collections into many individual tiles that are requested by the map only when needed. Another downside of using a GeoJSON file is that it is easy to scrape, if that is a concern. Tilesets provide data obfuscation, which on its own is not a secure way of serving data, but combined with other practices it can’t hurt. Seeing as tilesets are a solution to performance and can better obfuscate data, the problem then becomes, how do you use tiles on your web map?
As a note, Mapbox does have their own tiling service which I’m sure works well for a lot of people. However, if you’re building a highly integrated GIS system, sometimes it’s just easier (and comfier) to work within your home cloud provider if you know what you’re doing. This tutorial uses AWS, but you can use these concepts to build a truly cloud-agnostic, highly performant mapping system!
How?
The sections of this tutorial include setting up the project, using tippecanoe to convert geojson data to vector tiles, defining infrastructure with AWS CloudFormation, deployment, and testing with a client map. I assume that the reader has some familiarity with AWS, IaC, Mapbox, and web development. Here’s the finished product - https://github.com/jonathan-dragonrider/tileset-server-aws
Step 1: Setup
- Create a new folder for the project
- Go to http://geojson.xyz/ and download some open source geojson data, then add it to the project folder
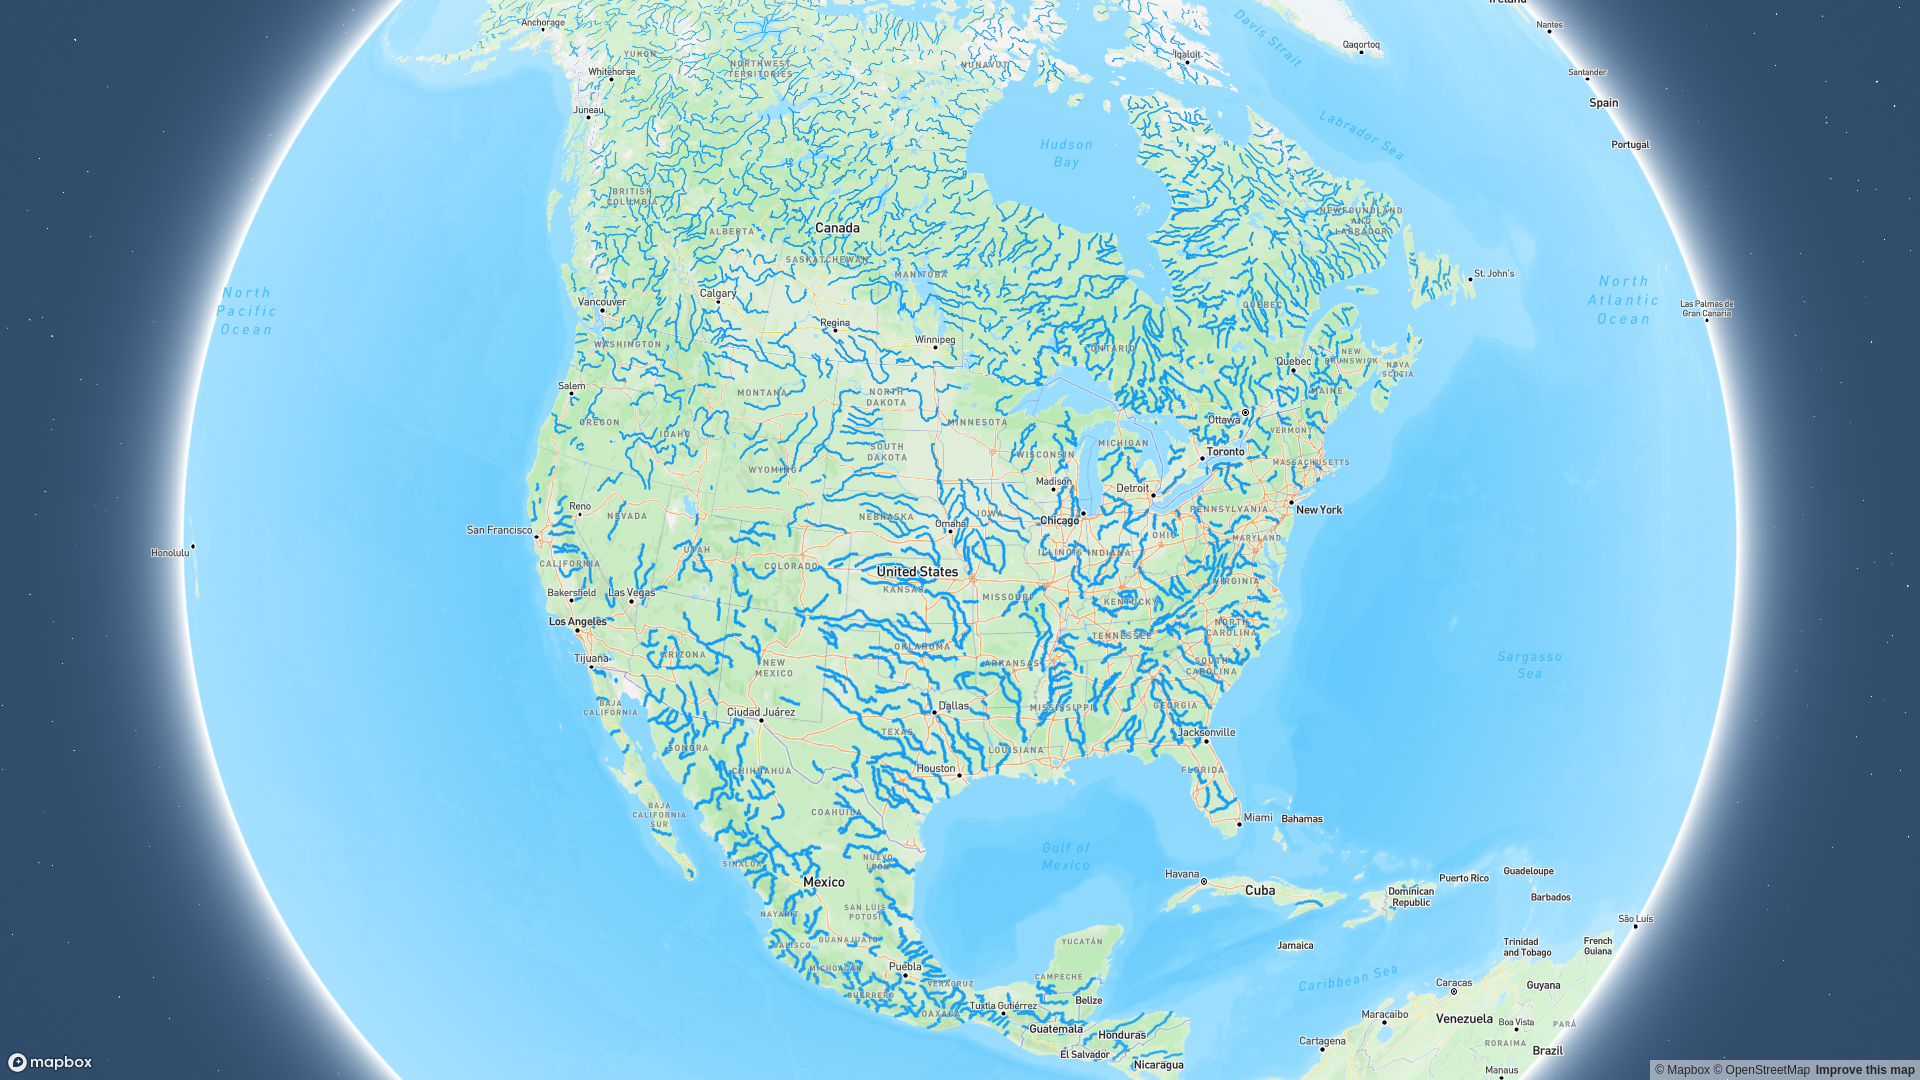
I picked the North American rivers data because it’s a relatively large file with lots of MultiLineString features which will illustrate the performance gains of using tiles.
Step 2: Install and run tippecanoe
Tippecanoe is a CLI program created by Mapbox for the purpose of making tilesets. Follow the installation instructions here. If you’re using Windows, I would recommend WSL for this, since tippecanoe only works in Unix environments.
Once you have tippecanoe installed, navigate to your project folder and run tippecanoe -zg -e ./tiles -l rivers ./<filename>
- -zg tells tippecanoe to automatically pick the max zoom level for the tileset
- -e specifies the output directory, which I call ‘tiles’
- -l specifies the layer name for the tileset, which I call ‘rivers’. This layer name will be used later on when adding the tileset as a source in mapbox-gl
- ‘filename’ of course refers to the file to be converted tiles, in this case the geojson file downloaded from step 1
Step 3: Define the CoudFormation stack
If you don’t know, AWS CloudFormation is AWS’s IaC service. The beauty of using IaC for this server is that you don’t have to write any code at all besides the configuration file. However, the hard part is knowing how to configure the stack. For this project, we use S3 to store the tiles and CloudFront to serve them on a CDN. I kept it simple by essentially using the default config for each resource.
Resources:
  TilesBucket:
    Type: "AWS::S3::Bucket"
    Properties:
      BucketName: tiles-bucket-<random-string>
      CorsConfiguration:
        CorsRules:
        - AllowedOrigins:
          - "*"
          AllowedMethods:
          - HEAD
          - GET
          AllowedHeaders:
          - "*"

  CloudFrontOAI:
    Type: AWS::CloudFront::CloudFrontOriginAccessIdentity
    Properties:
      CloudFrontOriginAccessIdentityConfig:
        Comment: "CloudFront OAI for tiles bucket"

  BucketPolicy:
    Type: "AWS::S3::BucketPolicy"
    Properties:
      Bucket: !Ref TilesBucket
      PolicyDocument:
        Version: "2012-10-17"
        Statement:
          - Effect: "Allow"
            Principal:
              AWS: !Sub "arn:aws:iam::cloudfront:user/CloudFront Origin Access Identity ${CloudFrontOAI}"
            Action: "s3:GetObject"
            Resource: !Sub "arn:aws:s3:::${TilesBucket}/*"

  CloudFrontCachePolicy:
    Type: "AWS::CloudFront::CachePolicy"
    Properties:
      CachePolicyConfig:
        DefaultTTL: 86400
        MaxTTL: 31536000
        MinTTL: 1
        Name: cloudfront-cache-policy
        ParametersInCacheKeyAndForwardedToOrigin:
          CookiesConfig:
            CookieBehavior: none
          EnableAcceptEncodingBrotli: true
          EnableAcceptEncodingGzip: true
          HeadersConfig:
            HeaderBehavior: none
          QueryStringsConfig:
            QueryStringBehavior: none

  TilesCDN:
    Type: "AWS::CloudFront::Distribution"
    Properties:
      DistributionConfig:
        DefaultCacheBehavior:
          AllowedMethods:
            - HEAD
            - GET
          CachedMethods:
            - HEAD
            - GET
          TargetOriginId: !Ref TilesBucket
          ViewerProtocolPolicy: redirect-to-https
          CachePolicyId: !Ref CloudFrontCachePolicy
        Enabled: true
        Origins:
          - DomainName: !GetAtt [TilesBucket, RegionalDomainName]
            Id: !Ref TilesBucket
            S3OriginConfig:
              OriginAccessIdentity: !Sub "origin-access-identity/cloudfront/${CloudFrontOAI}"
        Restrictions:
          GeoRestriction:
            RestrictionType: none
        ViewerCertificate:
          CloudFrontDefaultCertificate: true
Brief explanation of resources configs
TilesBucket defines an S3 bucket for storing the tiles. The CORS config for this bucket allows all origins to use the server. I may write another article on how to make this an authenticated server if people are interested in that. Also, since S3 bucket names have to be globally unique, you MUST change the bucket name for this to work!
TilesCDN defines the CloudFront distribution. I’ve only included the required config properties for this to work. If you’re confused about !Sub, !Ref, or !GetAtt, those are all the short forms of intrinsic functions which allow you to reference other resources when defining dependencies.
All other resources are supporting resources that allow S3 and CloudFront to connect with each other and function as a unit. CloudFrontOAI creates an access identity that is used in BucketPolicy to give CloudFront the ability to get objects from the S3 bucket. CloudFrontCachePolicy is there to define an optimized caching policy, since the whole purpose of CloudFront is to geograhpically cache content for faster delivery times.
Step 4: Deploy
At this point, I organized my project folder to look like this:
.
├── data
│   ├── rivers.geojson
│   └── tiles
└── stack.yaml
You need to have the AWS CLI installed to follow these deployment steps. First, deploy the CloudFormation stack with aws cloudformation deploy --template ./stack.yaml --stack-name tile-server --profile <profile> --region <region>
Once the stack has finished deploying, the tiles can be added with aws s3 cp ./data/tiles s3://<bucket-name>/ --recursive --content-type application/octet-stream --content-encoding gzip --profile <profile>
If everything worked out, you should have a publicly available tile server up and running on a CDN! Now let’s test it out with mapbox-gl.
Step 5: Test with a map
Copy this file to your project folder. Get your CloudFront domain name from the AWS Console (go to CloudFront, select your distribution, and copy the distribution domain name from the general tab). Replace your domain name with CLOUDFRONT_DOMAIN, and replace ACCESS_TOKEN with your mapbox access token. Finally, open the html file in your browser and enjoy your new CDN-powered tile server!